So, you’ve tried out PhotoScape and you’ve discovered it’s simply awesome. Now you want to learn how to do even more with this incredibly powerful free software. Fortunately, it’s jam-packed with fun and interesting features. Here are a few you’re definitely going to want to try out with your own photos:
1. How to Add Text to Photos
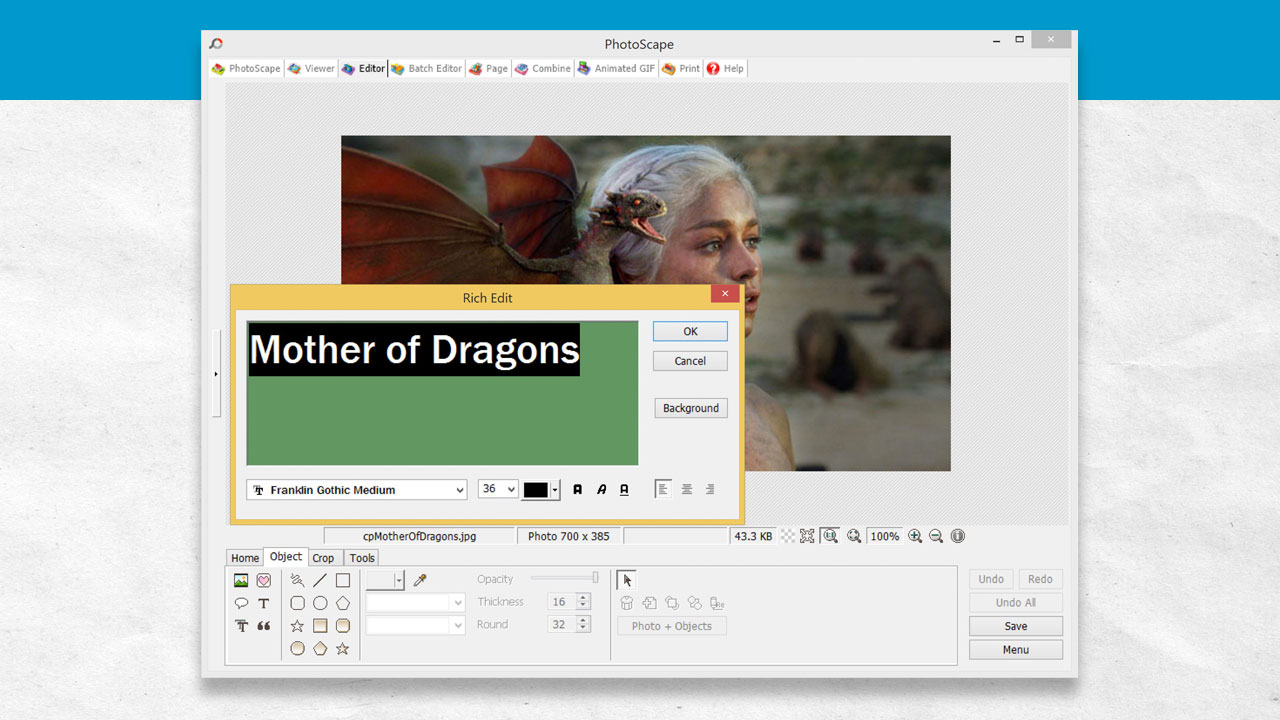
No photo editor makes it easier to endow your photos with sentimental thoughts, explanatory notes, or just something hilarious. You can select either the T or the TT features.

Clicking on either of these brings up a dialog box where you can type any text you like. It will also give you the options to change the color of the text, alter the font size, or select a different font style, text alignment (center, right or left justified), and more.
If you click the TT button, it only gives you the basic tools to work with. The T button offers you more features, including outline and shadow, as well as the ability to adjust the opacity of your text.
2. How to Sharpen Your Photos
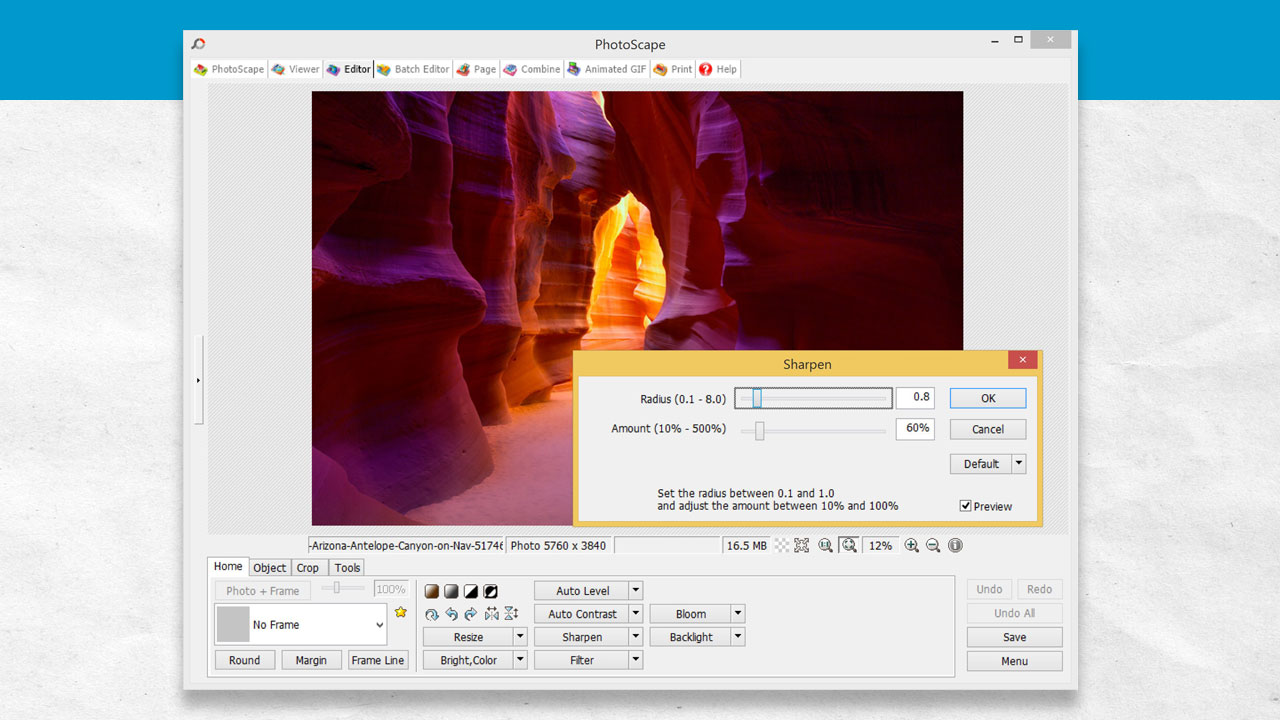
There are two simple steps to make your photos clear and sharp. Select Home, then choose Sharpen. From there, select the level of sharpening you like.
You can set the Radius of the sharpening to any number between 0.1 and 8.0 and the Amount of sharpening between 10% and 500%. You can also choose one of the present combinations by clicking on the button marked “Default” and changing it to one of the 13 pre-selected values.
In most cases, go easy on the sharpening! Applying too high of an Amount can lead to very unflattering results, especially in portraits of people.
3. How to Use the Photo Splitter
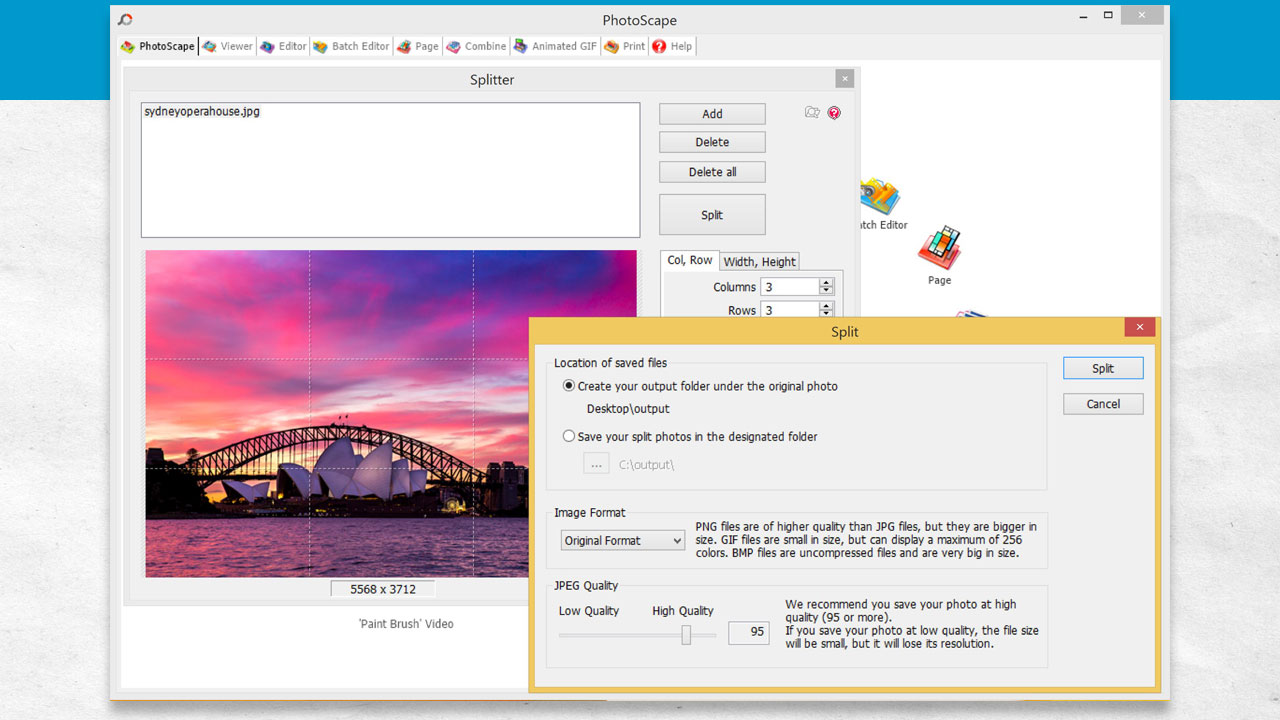
Using the Splitter tool, you can slice and dice your photos into multiple parts. Just set the size of the rows and columns (width and height) along the right side of the screen. Broken lines will appear to show you where the cuts will be made. When you get it adjusted like you want it, just click the Split button. This will pull up a box so that you can choose how and where to save your split photo. You can also choose multiple photos and split them all the same way.
4. How to Combine Photos
If you want to combine multiple photos into a single shot, use the Combine tool. Once you select that tool, drag the photos you’d like to combine to the window. Along the right side of the window, set what size you want the resulting photo to be.
You can also set the arrangement of the photos there. It will also give you the option to set the margins and even change the color of the margins. You can also change the interval of the photos or round off the sides of the photos. Be sure to click Save so you don’t lose your work. After saving, you can continue to edit your combined photo using the other editing tools in PhotoScape.

Want more tips, techniques and tutorials for Photoscape? We’ve got a list of 10 extra Photoscape tips to read, and you can check out this PhotoScape Effect Brush Tutorial for even more creative fun!