I don’t really like going to the beach (sorry, I just can’t stand sand!) which means I stay quite white-skinned all throughout the summer. Luckily now I’ve learnt a Photoshop trick that lets me get a tan in under five minutes – without all the risks of staying under the sun. It won’t have any effect on your skin in real life, but at least it will prevent you from looking like a ghost in summer pics! So, here’s how to obtain perfectly tanned skin in Photoshop:

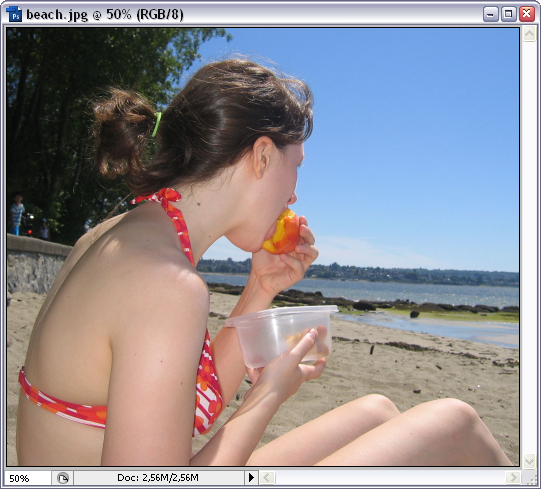
1. First of all, choose the photo you’ll be working with. In this tutorial I’ll use this picture by ninaj from Stock.xchng.
2. Now you need to select all the skin areas in your photo. There are many ways to select stuff in Photoshop – the Polygonal Lasso Tool, the Magnetic Lasso Tool- but in my case I simply switched to Quick Mask Mode by clicking the highlighted button and started painting all over the skin area.
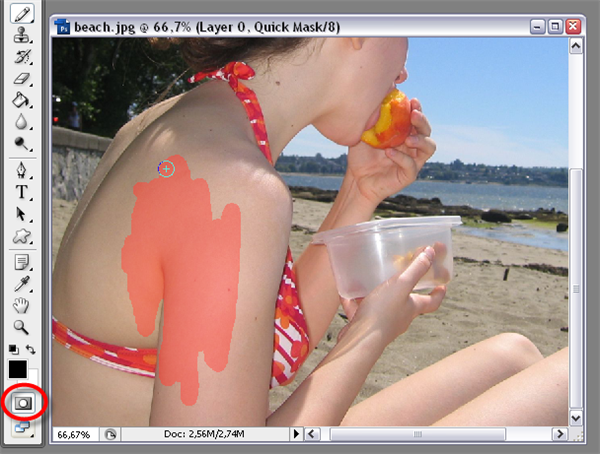
3. When I was done, I switched back to Normal Mode and inversed the selection. There! Now all the skin in my photo is selected.

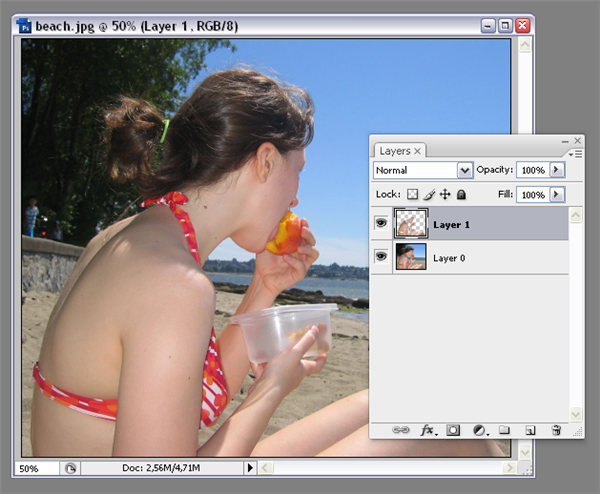
4. Press Ctrl+J to copy the selected area as a new layer.
5. With that new layer active, go to Image > Adjustments > Levels and adjust the central value until you obtain the tan you’d like to have. In my example, 0.55 was the right value.

6. Now go to Image > Adjustments > Brightness/Contrast and adjust also these values to get a more realistic result.

7. Done! You have a perfect tan… without having to deal with annoying sand, sun tan lotion and kids yelling and running around.


