Microsoft Excel has become such a popular spreadsheet application thanks to the numerous advanced features it provides to users in the know. One of the best tricks to learn is how to add several lines into the same cell on your spreadsheets. Adding additional data to a cell can be an excellent way to stay organized while making your information readily accessible. It is also an effortless way to attach written notes to the spreadsheet.
While Excel does not traditionally offer word processing, you can use the multiple lines trick to bypass this limitation. In just four steps and a few seconds, you will be customizing your Excel spreadsheets like a pro.
Choosing a spreadsheet cell to modify
First, you will need a spreadsheet that could use some additional formatting. You most likely already have one in mind before viewing this tutorial. Good reasons to modify a spreadsheet cell include adding notes, writing long strings of characters, or to organize the data in question. Once you have a specific cell in mind click on it to select it in Microsoft Excel.
Adding new lines to the cell

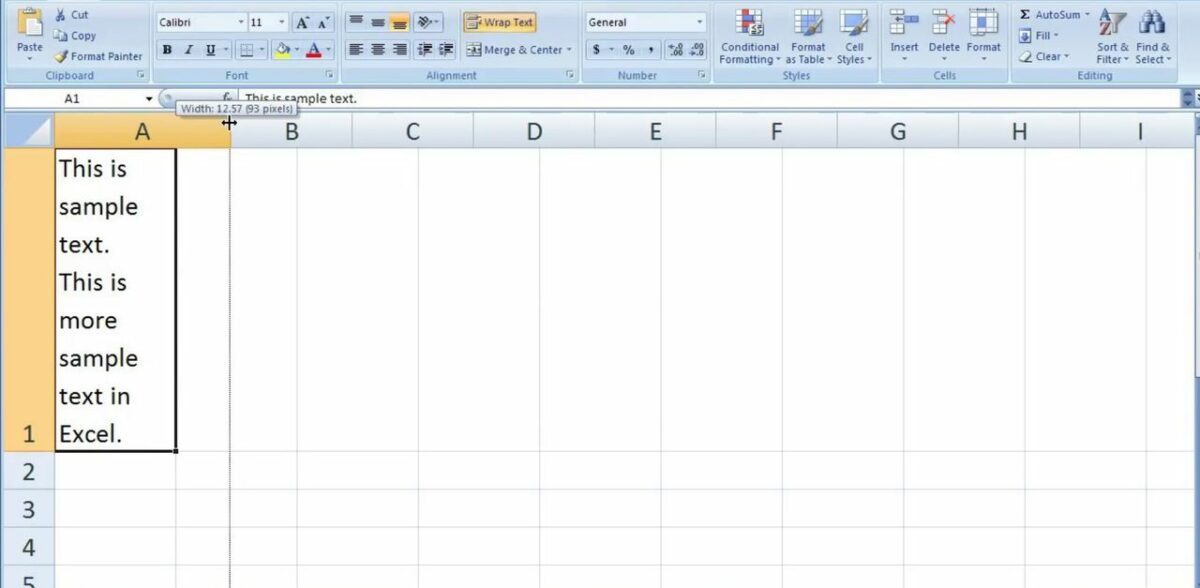
Modifying the cell is as simple as holding down the alt key and pressing enter. If done correctly, your text cursor will start blinking on the line below. Like in any word processor, you are now free to type directly below the previous row of information. You can repeat the alt + enter technique as many times as you need on any given spreadsheet cell.
If you wish to dive deeper, there is a more comprehensive way to achieve comparable results using the wrap text feature in Microsoft Excel. This is perfect for when your cell already has a bunch of text without any of the nice formatting. Right-click on the cell you wish to modify and select Format Cells from the drop-down menu that appears. From the Format Cells window, click on the box that says wrap text under the alignment tab. Be sure to confirm your changes by clicking on OK before leaving this window.
Adjusting the cell’s height
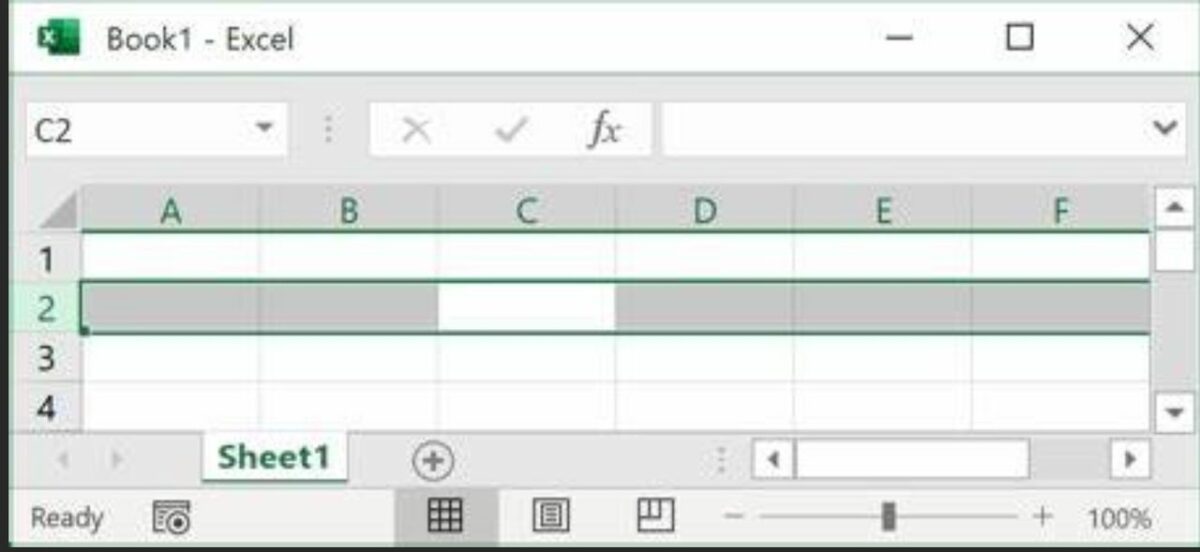
As you continue to add more lines to the same cell, you may notice the formatting start to falter. Luckily, you can readjust the height of any cell to complement your recent changes. To do this, look on the left side of the screen for the panel that displays which row is selected in Excel.
In the picture above, the selected row is row 2. This is shown by the box highlighted in green. If you wish to make the cell larger, click the line between rows 1 and 2 and drag the mouse cursor up until the row is resized to your liking. To make the cell shorter again, grab the line between rows 2 and 3 and drag the mouse cursor down. Again, do this until the row is big enough to fit every line you added in the previous step.
Saving your progress

Since it is quite easy to forget to save your work when practicing a new skill, be sure to record your new progress before closing the program. It is especially important to save when you are making final adjustments before a deadline. To save the spreadsheet, click on File in the top left corner and select save on the dropdown menu that appears. Alternatively, you can click the floppy disk icon at the top of the screen if you have previously saved the spreadsheet before. After saving at least once, you can also toggle the autosave feature from the panel right next to the floppy disk icon.
Taking Microsoft Excel to the next level
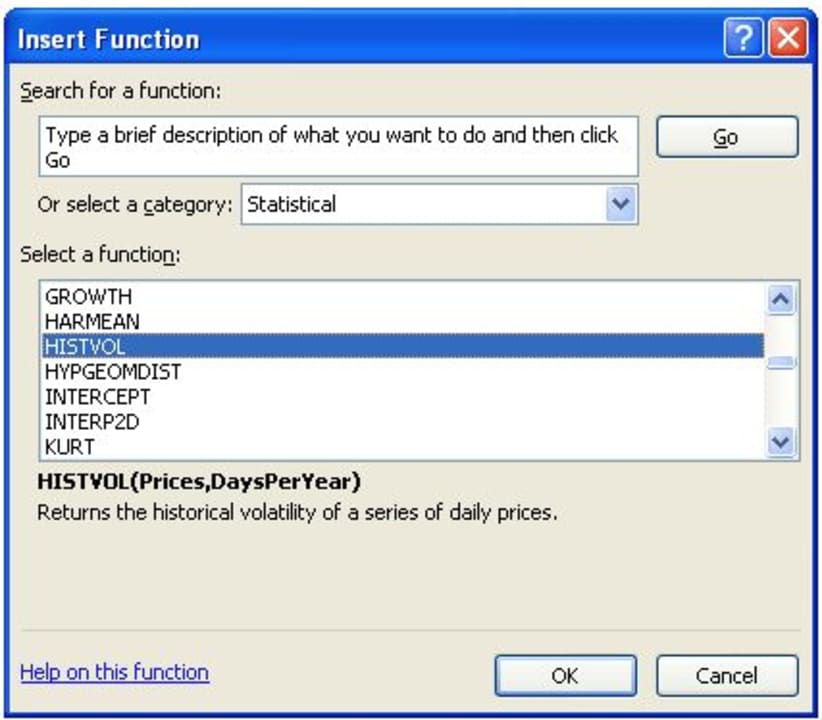
After learning how to add additional lines to each cell, the next step is to continue learning more about the advanced options available in Microsoft Excel. A wise place to start would be with the formula wizard. Don’t worry, you will not have to do any math. Instead, Excel’s formulas allow you to implement numerous exciting functions that will save you loads of time in later projects. To learn all about the formula wizard, check out our article on the subject.