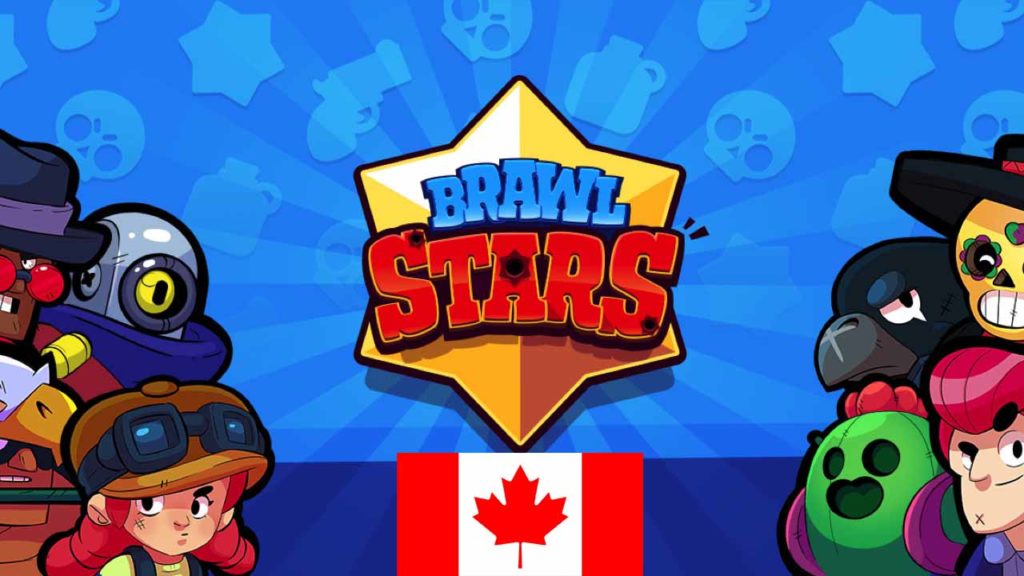
It is frustrating news that Supercell’s new game Brawl Stars only received a soft iOS release in Canada. Thinking about those Canadians happily blasting each other away in 3 on 3 social shooting action is enough to make me want to pull my hair out. Then I remembered there is no need for me to violently uproot the few hairs I have left. I know how to download apps from the app store that aren’t yet available in my region. Here let me show you:
How to Brand New Get Brawl Stars Now
1. Sign out of iCloud
The best way to do this is to create a new iTunes account and base it in the country or region that the app you’re after is available in. In this case that’ll be Canada but first things first let’s log out of iTunes.
To do so go to Settings and click iCloud. Scroll to the bottom and click Sign Out. You’ll get a warning telling you that everything you’ve got stored on the cloud will be removed from your phone if you carry on. This means if you plan on switching regularly between your account you should store as much of your data on your phone as possible so that you’ve always got access to it.
2. Create a New Account
Creating a new iTunes account is simple enough. All you have to do is go to Settings again and click iCloud. It is then the simple matter of clicking Create a new Apple ID. You then use an alternative email address to the one you’ve used on your primary account or get a free iCloud email address.
3. Verify your Account
Find the email Apple send you and then click the link. Secretly, I’m hoping you didn’t need me to tell you how to do this stage.
4. Select the Country you need
Now you have your shiny new account you need to select which country you’re going to assign to it. Open the App Store and click on Featured. Scroll down until you get to Sign In and then click it. You’ll get a pop-up telling you that you’ve not signed in before using this account and if you wait you’ll be presented with a list of countries. Choose the country you want, which in this case is Canada, and click next. All you have to do then is agree to the terms and conditions. It is up to you whether you read them or not first.
After you’ve done this you’ll have to put in a billing address in the country you’ve just registered but you won’t need to input credit card details. Pick any address you can think of and you’re ready to go.