Even if you’ve never heard the term “animated GIF” before, you’re already familiar with them. These are the simple animated pictures you see on the Web and in chat programs. They’re usually simple and funny, and you can find them on many web sites and forums. Giphy.com is one of the most popular places to search for them.
There are thousands of famous animated GIFs, like one of our personal favorites, Fabio Cow:
The format isn’t really all that new. GIF stands for Graphics Interchange Format and was debuted on the ancient CompuServe online service in 1987. You can read all about GIFs in Mashable’s history of the format.
Since then, animated GIFs have seen a resurgence online, and you can find them everywhere.
But did you know that making your own animated GIFs is a breeze if you have a copy of Photoscape? In just a few clicks, you can have an animated GIF ready to put on your website, share on social media, or email to your friends and family for a special occasion.
Here’s how to do it:
- Start by opening PhotoScape. Then choose the photo(s) you would like to animate.
- Edit your photo using special effects, different text fonts and text colors, different text messages, grayscale, sepia, and others — whatever effects you would like to use.
- Remember that you need to create a different image for each “frame” of your animated GIF. So if you want to have four different frames in the final version, you need to create four separate images.
- Save each frame out as a different file name, and be sure to keep up with the images as you name them. You’ll need to select them when it’s time to assemble your animated GIF.
- It’s usually best to save your different images with sequential numbers (i.e., image01.gif, image02.gif, etc.)
- Once you get the images created as you want them, stay in the PhotoScape program but go to the option Animated GIF on the home screen. Or, click on the Animated GIF tab.

- Next, add the photos you have created for the animated GIF by dragging and dropping them across the top of the screen in the open white space there.
And that’s all there is to it!
Be sure to save your final animated GIF file with a new filename.
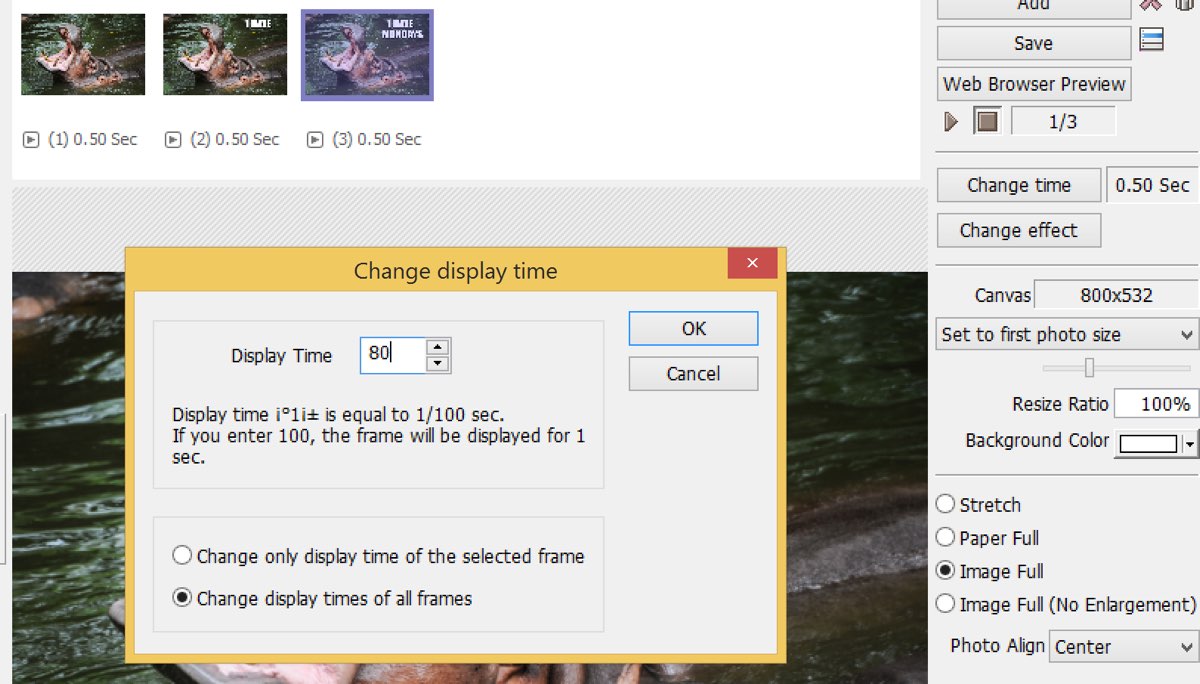
You can also make more adjustments here, such as changing the speed of the animation. You can find that option along the right side of the window, towards the top. Here, you can also play around with the various effects you can apply to the GIF, as well as discover the other options
Here’s our final result, created in just a few minutes with Photoscape.
Once you master the process, it’s easy!