We all dream of having a Porsche, a Lamborghini or a Ferrari at some point of our lives. But while we save money for those, why not creating the car of our dreams with Photoshop? Follow these easy steps and learn how to pimp your car in less than 20 minutes. It’s not like the real thing of course, but it’s funner and a lot cheaper.
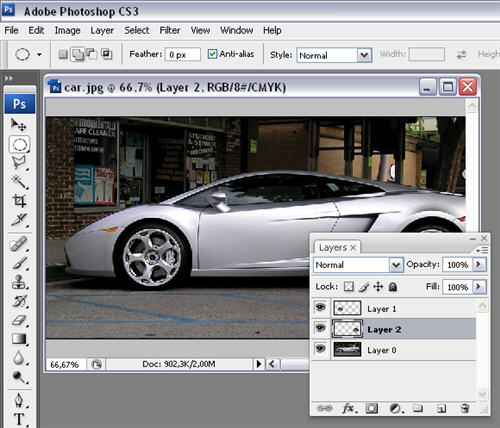
1. Open the car you want to work with. Use the marquee tool to select both wheels and copy them on two separate layers with Ctrl+J.
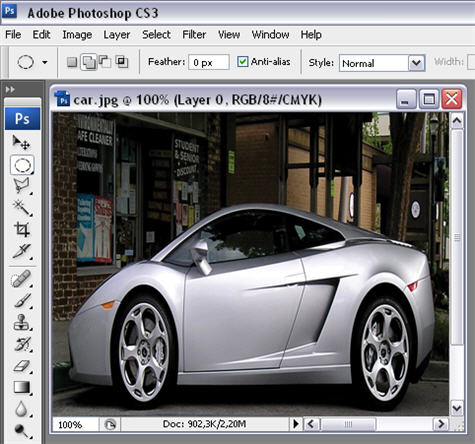
2. Now make the two wheel layers invisible, select the background one and, using the Free transform tool (Ctrl+T) apply an effect to your car until it looks similar to this:
3. Make wheel layers visible again and paste it on the car, using the the Transform tool if necessary to make them fit perfectly.

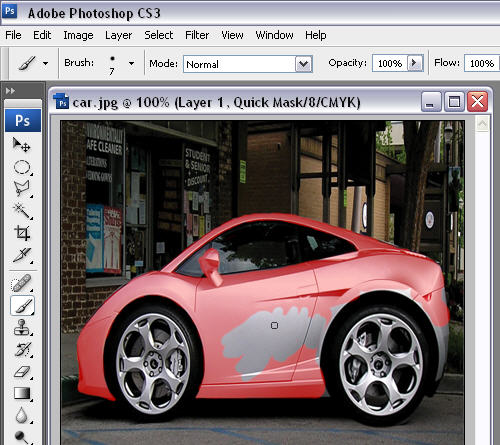
4. Now enter into Quick Mask mode (Q), grab the brush tool and start painting all over the areas you want to colorize. Once you’re done, switch back to Normal mode and invert the selection. The body’s car will now be selected. Copy it to another layer with Ctrl+J.
5. Press Ctrl+B to open the Color Balance dialog window and move the sliders until you obtain the perfect color for your car.

6. Now it’s time for a bit of customization: try adding stickers, logos or anything you like onto your car. In my case, I added a tribal tattoo on a new layer.

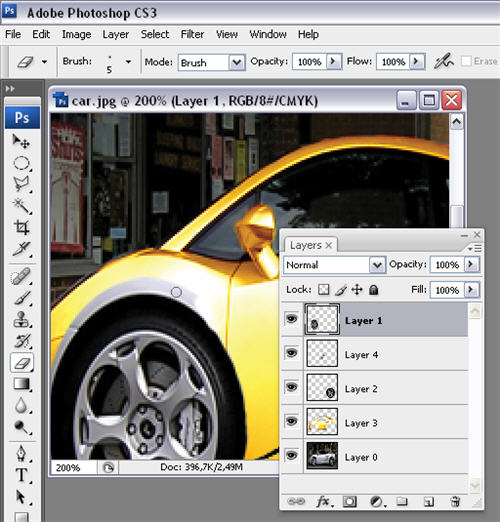
7. Finally, select the wheel layers and erase all extra margins so that the color shows up on those layers too.
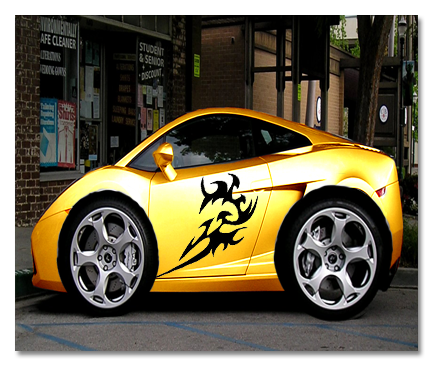
8. Your supercar is finished!